RedHat_7#
Introduction#
This article shows how to configure FreeIPA and integrate it in FreeRADIUS to implement a RADIUS based authentication system, which uses its own software token to provide OTP authentication to other, RADIUS compatible, systems (e.g. a VPN server, etc.).
The IPA server is configured as a stand-alone system, with no integration with other directory servers or any other system.
This How To is a intended as sort of brain dump of the steps I took to configure and test RADIUS and IPA with OTP authentication, after I successfully managed to build such a system, and it owes a lot to other guides and posts found in Internet. Some of the more helpful were:
http://blog.christophersmart.com/articles/freeipa-how-to-fedora/
http://consultancy.edvoncken.net/index.php/HOWTO_Configure_Radius_with_an_IPA_Server
http://karloluiten.nl/make-freeradius-talk-to-freeipa-rhel-idm/
PLEASE NOTE that this set-up uses unencrypted passwords between the client and the authentication server, i.e. password will be trasmitted as CLEAR TEXT, consider this with respect to your environment.
Install a new server#
To start from scratch, install a basic CentOS 7 server, selecting a “Infrastructure Server/Identity Management Server” Environment in Software Selection.

IPA_Radius_1.png#
Ensure that the server is up to date:
| ``[root@ipa ~
...
[root@ipa ~]# yum update
...
Install, configure and test IPA Server#
Ensure that we have all the packages we might need for IPA (bind and
bind-dyndb-ldap may not be necessary if you don’t plan to use the
native DNS server):
[root@ipa ~]# yum install ipa-server bind bind-dyndb-ldap
...
To avoid naming problems, we are hardcoding the server IP and name in the hosts file:
[root@ipa ~]# echo "192.168.1.10 ipa.test.org ipa" >>/etc/hosts
Now you can interactively configure the IPA Server:
[root@ipa ~]# ipa-server-install
...
This program will set up the IPA Server.
This includes:
  * Configure a stand-alone CA (dogtag) for certificate management
  * Configure the Network Time Daemon (ntpd)
  * Create and configure an instance of Directory Server
  * Create and configure a Kerberos Key Distribution Center (KDC)
  * Configure Apache (httpd)
To accept the default shown in brackets, press the Enter key.
WARNING: conflicting time&date synchronization service 'chronyd' will be disabled in favor of ntpd
Do you want to configure integrated DNS (BIND)? [no]:
Note that the chronyd service will be disabled in order to
successfully configure and run the NTP daemon ntpd, which is
required to guarantee that the system’s time is correct and synchronized
with any other device.
For this simple installation, we don’t want to use the integrated DNS,
so answer no and then enter the FQDN of this server:
Server host name [ipa.test.org]:
Confirm the domain name
Please confirm the domain name [test.org]:
And the realm name
Please provide a realm name [TEST.ORG]:
Now you must enter the passwords for the LDAP Directory Server admin
user (“cn=Directory Manager”) and for the IPA admin user
(admin):
Directory Manager password:
Password (confirm):
...
IPA admin password:
Password (confirm):
At this point the script will ask for confirmation before proceeding to configure all the systems that comprise the IPA Server:
The IPA Master Server will be configured with:
Hostname:       ipa.test.org
IP address(es): 192.168.1.10
Domain name:    test.org
Realm name:     TEST.ORG
Continue to configure the system with these values? [no]: yes
From now on, the script will automatically configure and enable all the required subsystems and write the appropriate configuration files at the right place:
The following operations may take some minutes to complete.
Please wait until the prompt is returned.
Configuring NTP daemon (ntpd)
...
Setup complete
Next steps:
        1. You must make sure these network ports are open:
                TCP Ports:
                  * 80, 443: HTTP/HTTPS
                  * 389, 636: LDAP/LDAPS
                  * 88, 464: kerberos
                UDP Ports:
                  * 88, 464: kerberos
                  * 123: ntp
        2. You can now obtain a kerberos ticket using the command: 'kinit admin'
           This ticket will allow you to use the IPA tools (e.g., ipa user-add)
           and the web user interface.
Be sure to back up the CA certificate stored in /root/cacert.p12
This file is required to create replicas. The password for this file is the Directory Manager password
We now add the required ports to the firewall public zone and then restart the firewall service:
[root@ipa ~]# firewall-cmd --permanent --zone=public --add-port=80/tcp --add-port=443/tcp --add-port=389/tcp --add-port=636/tcp --add-port=88/tcp --add-port=464/tcp --add-port=88/udp --add-port=464/udp --add-port=123/udp
...
[root@ipa ~]# systemctl restart firewalld.service
In order for the IPA Server to work without issues, it is necessary that
the time of the server is synchronized to the other devices using its
services, which is usually guaranteed by a correctly configured NTP
server (ntpd). You can check your NTP server status with this
command:
[root@ipa ~]# ntpdc -c sysinfo
system peer:          0.centos.pool.ntp.org
system peer mode:     client
leap indicator:       00
stratum:              3
precision:            -22
root distance:        0.01346 s
root dispersion:      8.23227 s
reference ID:         [195.66.10.51]
reference time:       d9cba569.5342443b  Fri, Oct 16 2015 18:33:45.325
system flags:         auth ntp stats
jitter:               0.000000 s
stability:            0.000 ppm
broadcastdelay:       0.000000 s
authdelay:            0.000000 s
If the NTP server is up and running fine, you will see a low number in the stratum row.
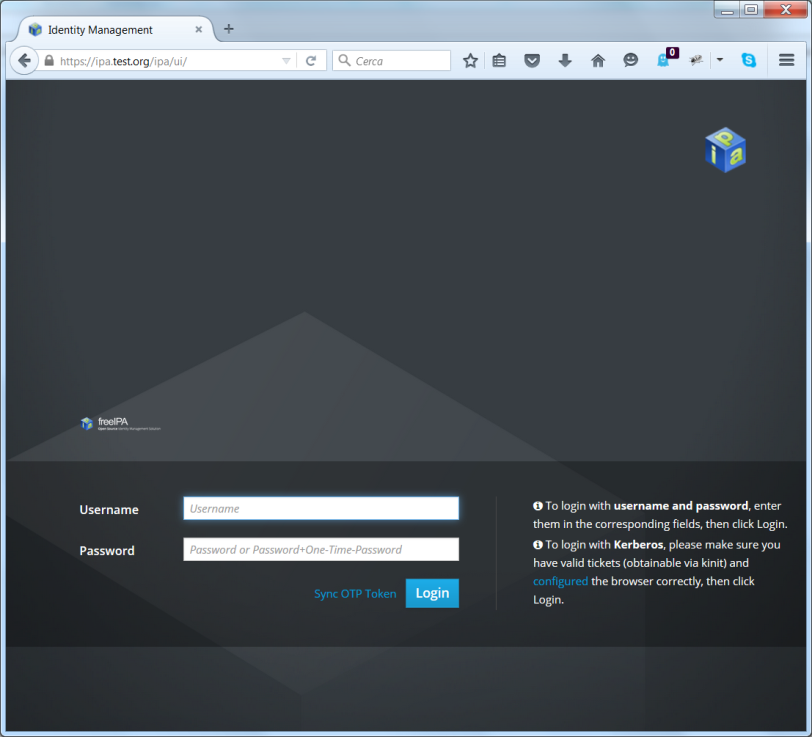
Now, if everything is correctly configured and running, you should be able to reach the web management interface at https://ipa.test.org/ (you could have to add an exception for the server certificate, since it will be self-signed…):
IPA_Radius2.png#
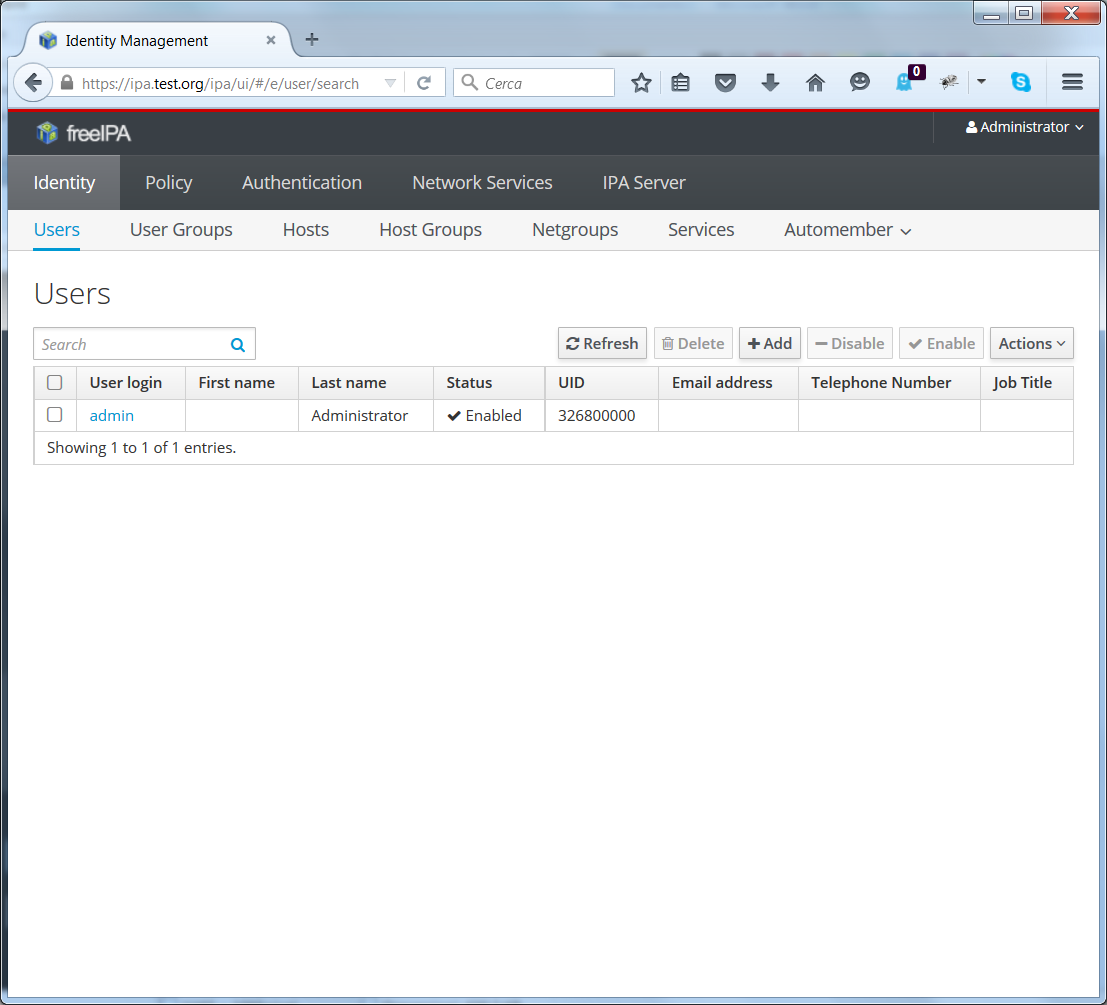
You can now login with the admin user and the password you entered in the setup script, and reach the Users management page:
IPA_Radius3.png#
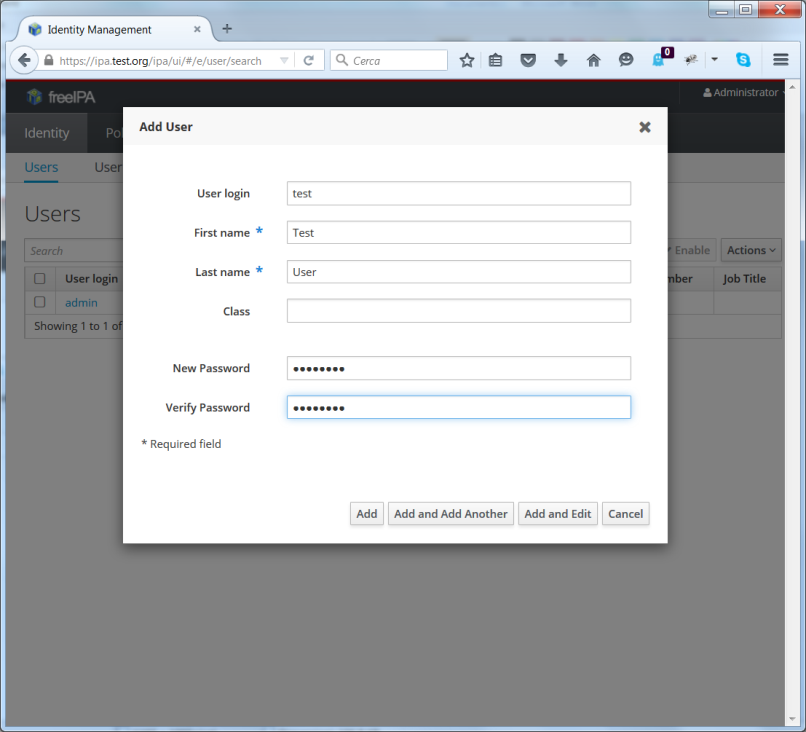
Here you can add a new user (which we will call test) with the
+Add button at the top right of the page:
IPA_Radius4.png#
Now logout as Administrator and login as user test. The system
should ask you to pick a new password
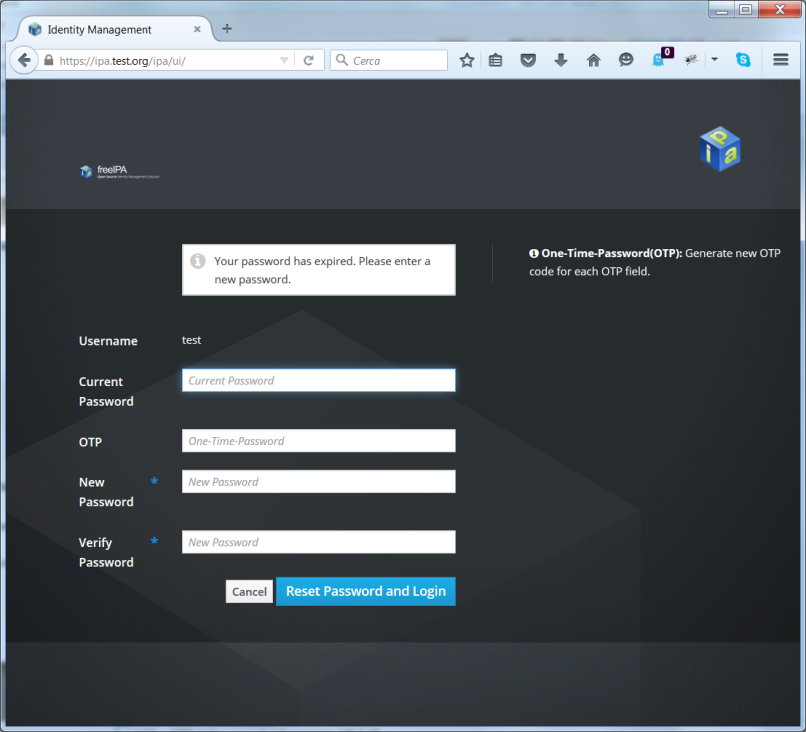
IPA_Radius5.png#
and then login. In the test user’s details page, you can add an OTP
Token with the Action dropdown button and the Add OTP Token
button
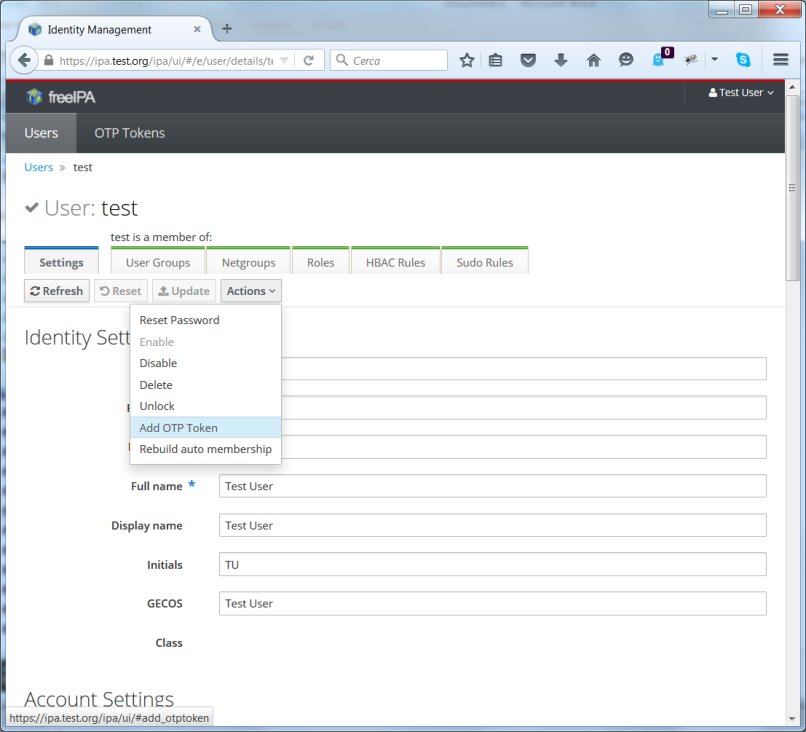
IPA_Radius6.png#
You will have to choose the type of the new token (Time-based TOTP or Counter-based HOTP) and an appropriate description, and then the system will show a QR code which can be used to configure most software token application by simply scanning it within the app in your smartphone:
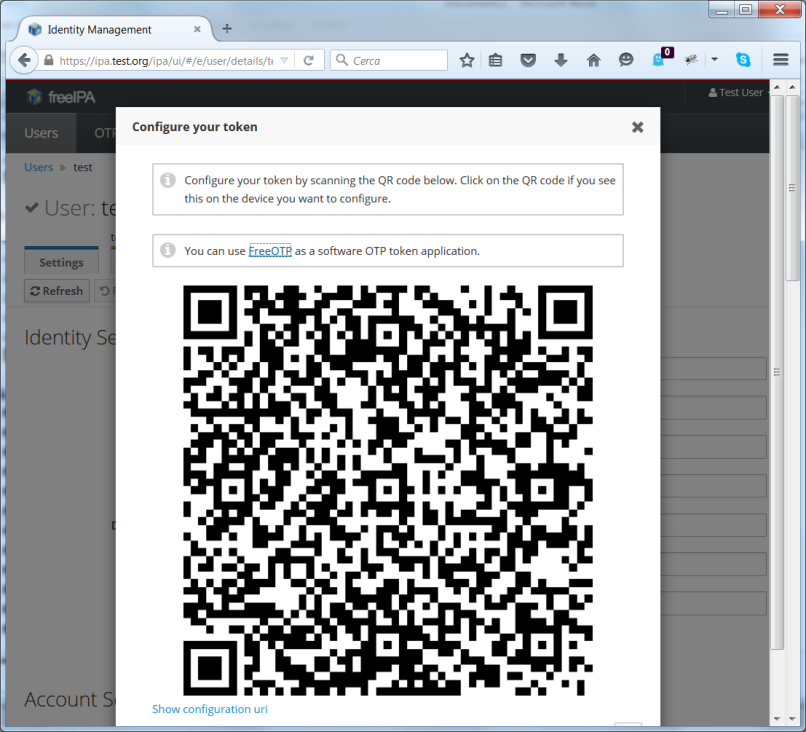
IPA_Radius7.png#
Please be aware that, as of now, there is a bug in the FreeIPA version (4.1.0-18) released with CentOS 7 which causes the Google Authenticator to fail recognize the QR code, so you may want to use the FreeOTP app by RedHat which works. The problem lies in the casing of the SHA protocol encoded in the QR code: IPA uses lower case (sha) while Google Authenticator requires upper case (SHA).
In order to fix this bug, you will have to modify two files distributed with the ipa-server package:
in /usr/lib/python2.7/site-packages/ipalib/plugins/otptoken.py change
StrEnum('ipatokenotpalgorithm?',
    cli_name='algo',
    label=_('Algorithm'),
    doc=_('Token hash algorithm'),
    default=u'sha1',
    autofill=True,
    flags=('no_update'),
    values=(u'sha1', u'sha256', u'sha384', u'sha512'),
to
StrEnum('ipatokenotpalgorithm?',
    cli_name='algo',
    label=_('Algorithm'),
    doc=_('Token hash algorithm'),
    default=u'SHA1',
    autofill=True,
    flags=('no_update'),
    values=(u'SHA1', u'SHA256', u'SHA384', u'SHA512'),
in /usr/share/ipa/ui/js/freeipa/app.js change
`` default_value:”sha1”,options:[“sha1”,”sha256”,”sha384”,”sha512”]}``
to
`` default_value:”SHA1”,options:[“SHA1”,”SHA256”,”SHA384”,”SHA512”]}``
Before trying the newly set up token, you must login as admin, enable
the Two factor authentication type in the test user setting, and
update the user’s profile with the Update button:
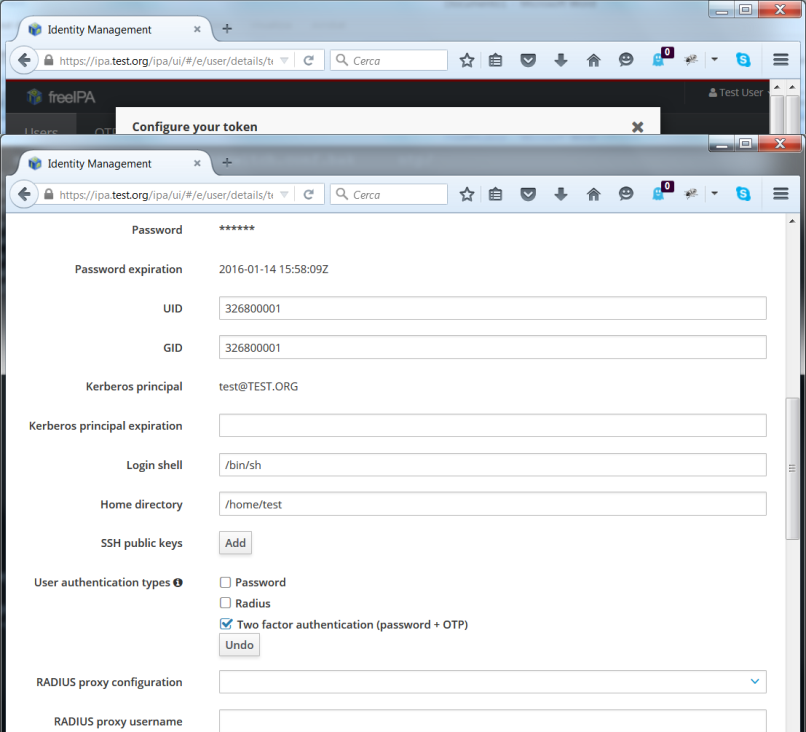
IPA_Radius8.png#
Now you should be able to login as user test by adding to the
standard password the code provided by the OTP app (es. FreeOTP) (i.e.
if the test user’s password is “password” and FreeOTP shows 762405, you
should enter “password762405” in the password field):

IPA_Radius9.png#
If everything up to now is working as expected, you can proceed with the installation and configuration of the RADIUS frontend.
Install, configure and test RADIUS Server as a frontend to IPA#
As a prerequisite, you must install the required freeradius packages (we won’t need freeradius-krb5, but we’ll install it just in case…):
[root@ipa ~]# yum install freeradius freeradius-utils freeradius-ldap freeradius-krb5
...
In order to configure the RADIUS server to authenticate with the software token provided by the IPA server, we must let RADIUS accept requests from your clients (including the IPA server itself), enable the default configuration to search for users in the IPA server with LDAP protocol and try to authenticate them with an LDAP bind() operation.
All the RADIUS configuration files are in /etc/raddb, and most of
the configuration is done by linking files from the mod-available
directory to mod-enabled and then editing them as needed.
As a first step, add the following lines at the beginning of
clients.conf:
client localnet {
        ipaddr = 192.168.1.0/24
        proto = \*
        secret = somesecret
        nas_type = other<------># localhost isn't usually a NAS...
        limit {
                max_connections = 16
                lifetime = 0
                idle_timeout = 30
        }
}
In sites-enabled/default and sites-enabled/inner-tunnel replace
these line
#
#  The ldap module reads passwords from the LDAP database.
-ldap
with these
#
#  The ldap module reads passwords from the LDAP database.
ldap
if ((ok || updated) && User-Password) {
    update {
        control:Auth-Type := ldap
    }
}
and uncomment the following lines
#       Auth-Type LDAP {
#               ldap
#       }
As a last step, enable and configure the LDAP backend in RADIUS.
Add LDAP to the enabled mods:
[root@ipa raddb]# ln -s /etc/raddb/mods-available/ldap /etc/raddb/mods-enabled/
[root@ipa raddb]#
Edit mods-enable/ldap to change
`` server = “ldap.rrdns.example.org ldap.rrdns.example.org ldap.example.org”``
and
# base_dn = "dc=example,dc=org"
to
`` server = “ipa.test.org”``
and
`` base_dn = “dc=test,dc=org”``
To reach the RADIUS server from other clients, we must also open the firewall for the required ports:
[root@ipa ~]# firewall-cmd --permanent --zone=public --add-port=1812/udp --add-port=1813/udp
Success
[root@ipa ~]# systemctl restart firewalld.service
[root@ipa ~]#
Now we can test our RADIUS serve by starting in debug mode with
[root@ipa ~]# radiusd –X
...
Listening on auth address * port 1812 as server default
Listening on acct address * port 1813 as server default
Listening on auth address :: port 1812 as server default
Listening on acct address :: port 1813 as server default
Listening on auth address 127.0.0.1 port 18120 as server inner-tunnel
Opening new proxy socket 'proxy address * port 0'
Listening on proxy address * port 36752
Ready to process requests
Open another shell to ipa.test.org and test the RADIUS server:
[root@ipa ~]# radtest test password123456 ipa.test.org 1812 somesecret
Sending Access-Request Id 105 from 0.0.0.0:44729 to 192.168.1.10:1812
        User-Name = 'test'
        User-Password = ' password123456'
        NAS-IP-Address = 192.168.1.10
        NAS-Port = 1812
        Message-Authenticator = 0x00
Received Access-Accept Id 105 from 192.168.1.10:1812 to 192.168.1.10:44729 length 20
[root@ipa ~]#
If you receive an “Access-Accept” response, you are ready to go, just
stop the debug server with ctrl-c, enable the server daemon and
start it:
Listening on proxy address * port 35327
Ready to process requests
^C
[root@ipa ~]# systemctl enable radiusd
ln -s '/usr/lib/systemd/system/radiusd.service' '/etc/systemd/system/multi-user.target.wants/radiusd.service'
[root@ipa ~]# systemctl start radiusd.service
[root@ipa ~]#